Installation
Setup
Requirements:
Supported operating systems:
Microsoft Windows XP
Microsoft Windows Server 2003
Microsoft Windows Vista
Microsoft Windows 7 or later
Bentley MicroStation 7J
Administrator rights are required on each computer to install CAXperts dgn2pdf. “Run as” is not supported.
Uninstall
To uninstall the software, select Control panel from the start menu. Then on
Windows 7-10: in large or small icon view, click Programs and features. If you're using category view, under Programs, click Uninstall a program.
Windows Vista: in classic view, double-click Programs and features. In control panel home view, under Programs, click Uninstall a program.
Windows XP/2000: (Double) click the Add or remove programs icon.
Select the program you want to remove, and click Uninstall/Remove. Alternatively, right-click the program and select Uninstall.
Setup command line (for administrators)
The following command line options are supported by the installer:
/S:<<optional ini file>>
Allow an install to be run in silent mode. As a result, no screens or dialogs will be shown.
This command line option also has an optional INI file that can be passed containing session variable values. For example:
"C:\output\setup.exe" "/S:C:\setupvars.ini"
This will cause the session variables in the INI file to be used for the setup. The INI file should be in the format:
[SetupValues]
%AppFolder%=C:\Program Files\MyProduct
/U:<<XML config file>>
This command line option must be used when calling the uninstall program from the command line. This command also has an optional XML file that can be passed containing session variable values. For example:
"C:\Program Files\MyProduct\uninstall.exe" "/U:C:\Program Files\MyProduct\irunin.xml"
Licence
CAXperts software supports two types of licences:
Site licence (local)
Domain based licences are restricted to machines within a 5 miles (8 kilometres) radius at a specific geographic location (building) for which the licence key file was issued for. There is no limitation regarding the number of users or machines.
CAXperts will need your Current domain name to issue a licence file (.lic).
The licence file has to be stored on a local or network location accessible by the machine running the CAXperts product; a licence server is not required.
The location of the licence file should be defined on every machine with the CAXperts product installed, which can be done.
Either by setting the environment variable
CAXPERTS_LICENSE_FILE=C:\Program Files (x86)\CAXperts\Licensing\Or by setting the registry key
> HKEY_CURRENT_USER\Software\FLEXlm License > Manager\CAXPERTS_LICENSE_FILE=C:\Program Files > (x86)\CAXperts\Licensing\
Multiple licence key file locations should be separated by semicolons (“;”).
If the licence key file location is not defined, “C:\Program Files (x86)\CAXperts\Licensing\” is used
Floating (server) licence
Floating licences require a FlexNET server (lmadmin or lmgrd) accessible by the machine running the CAXperts product. The licence key file is typically located on the FlexNET server machine. The licence key file defines the maximum number of seats which can be used at the same time.
New instances can only be started as long as seats are available and the FlexNET server is accessible.
The location of the licence server must be defined on every machine with the CAXperts product installed, which can be done.
Either by setting the environment variable
CAXPERTS_LICENSE_FILE=@YourServerNameOr by setting the registry key
HKEY_CURRENT_USER\Software\FLEXlm License Manager\CAXPERTS_LICENSE_FILE=@YourServerName
Every computer name must be preceded by the @ symbol. Multiple licence server locations should be separated by semicolons (“;”).
YourServerName is the Windows computer name of the machine running lmadmin (FlexNET server). If lmadmin is running on a non-default port, the port number should be defined like this: port@ YourServerName.
Borrowed licences
Licence seats can be borrowed for a period of time from the server and saved to the local machine. Once the seat has been borrowed the CAXperts application can be used without any connection to the FlexNET server.
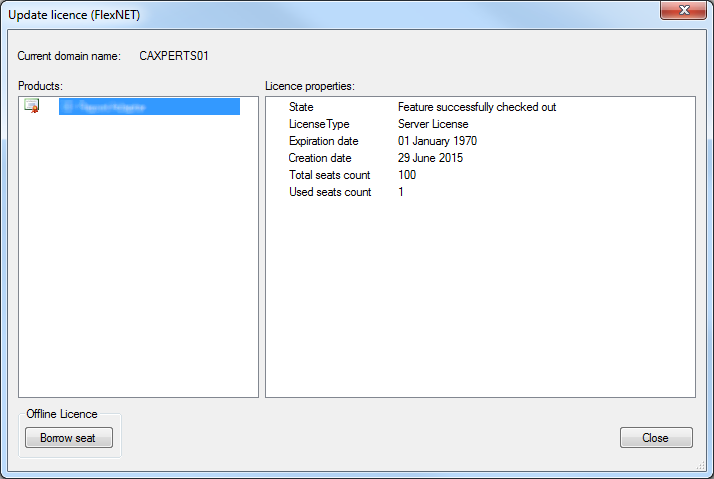
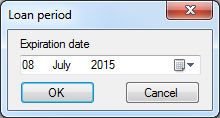
To borrow a licence seat press the Borrow seat button, define the loan period (up to 7 days) and press OK. When the borrowed seat expires it gets automatically returned back to the FlexNET server.
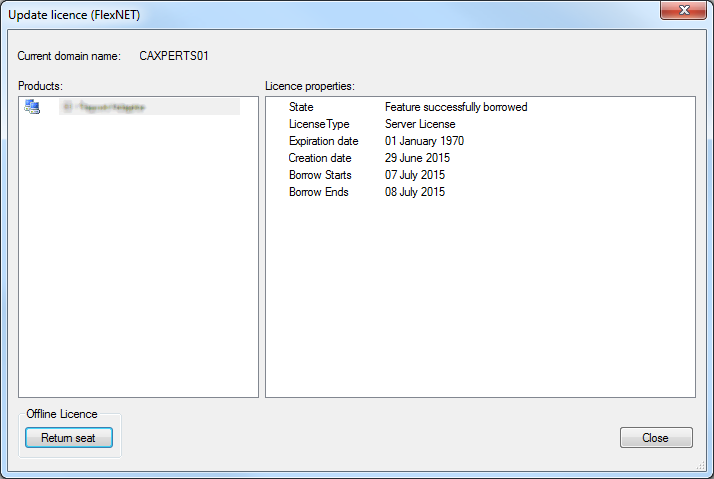
The seat can be returned earlier by pressing the Return borrowed seat button.
Working with dgn2pdf
When you start dgn2pdf, the main window shows up:
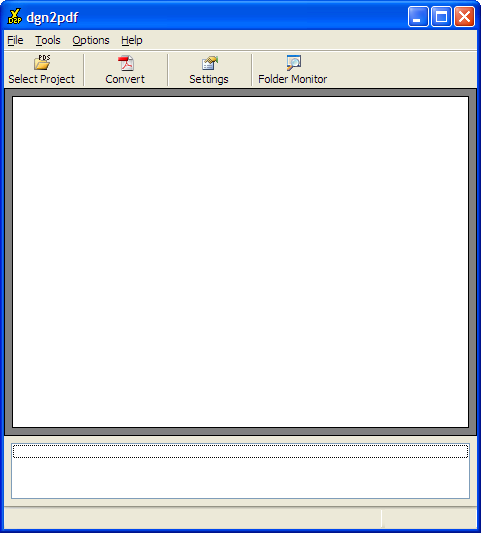
The tree view in the middle of the window can show up to three sub-trees:
One for the drag and drop objects, one for drawings and one for pipings from the PDS project. Drawing sub-trees contain drawing type sub-items which contain individual drawings. Piping sub-trees contain areas, these contain models which contain ISOs.
The main menu provides the following items:
File
Select Project
When the user clicks on ‘Select Project’, a dialogue for the selection of the PDS control file and project shows up. After selection of a project, the project structure is displayed in the tree view of the main form.

Load DGN files
The ‘Load DGN files’ menu item allows the selection of DGN files.
Most Recently Used Projects
If a user has already used dgn2pdf on this computer, the most recently used projects will be displayed here.
Exit
‘Exit’ closes the dgn2pdf tool.
Tools
Folder Monitor

dgn2pdf has a monitor function to keep all DGN files in a folder up-to-date:
After selecting the folder and choosing the scan interval, click on start to monitor this folder. dgn2pdf will now look for outdated PDFs and replace them by new versions generated from the DGN files in the folder.
Additional check-box options:
Watching of sub-folders
DGN output to the monitored folder(s)
Options
The ‘Options’ menu contains one item:
Settings
‘Settings…’ brings up a configuration dialogue for the dgn2pdf functionality:
Output
The output tab contains controls for the dgn2pdf file output.
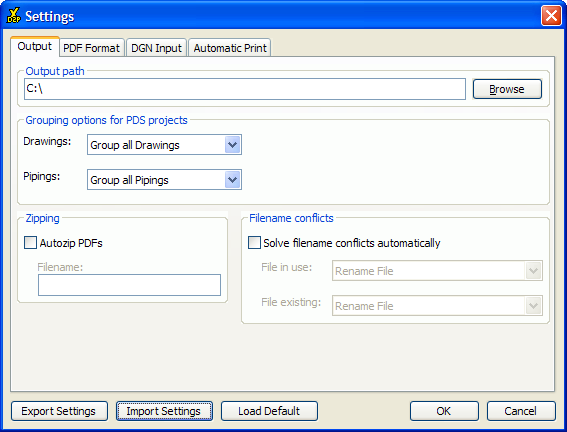
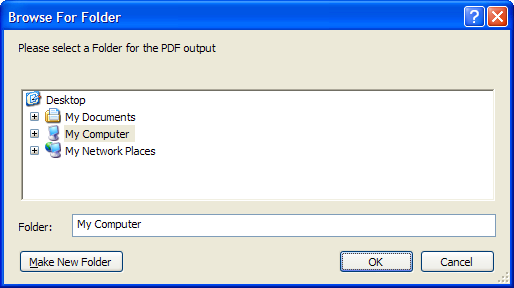
Output Path
Use the Browse button to set the output directory for the PDF and zipped PDF files.
Grouping Options for PDS Projects
dgn2pdf provides grouping for drawings and pipings.
For Drawings, the following options are available:
Group all Drawings
Group by Drawing Types
No group
For Pipings, these options are provided:
Group all Pipings
Group all Areas
Group all Models
Group all ISOs
No group
Zipping
The PDF output can also be zipped by dgn2pdf. To do so, simply check ‘Autozip PDFs’ and specify a target filename.
Filename conflicts
For an automated solution of filename conflicts, check ‘Solve filename conflicts automatically’. These options are available for the new and the already existing file:
Skip file
Rename file
Overwrite file (existing file)
PDF Format
This tab provides formatting options for the PDF output.
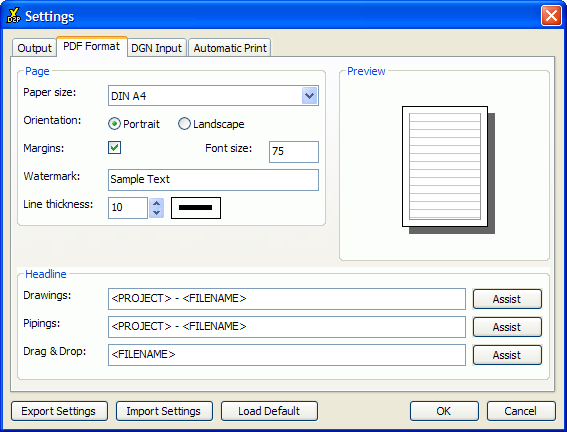
These paper sizes are available:
DIN A0
DIN A1
DIN A2
DIN A3
DIN A4
Broadsheet
Ledger
Executive
Legal
Letter
ANSI D 22x34
Orientation may be Portrait or Landscape
When ‘Margins’ is checked, dgn2pdf will shrink the drawing and add margins on all edges.
The content of the ‘Watermark’ textbox will be printed in the size specified by ‘Fotn size’ across the drawing.
Use ‘Line Thickness’ for fine-tuning the thickness of the vector lines.
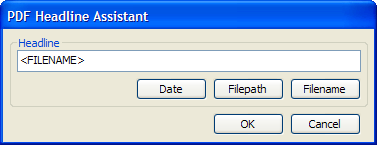
dgn2pdf contains a headline assistant tool for putting together the headline of the PDF document.
Drawings:
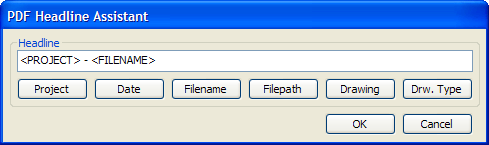
Pipings:
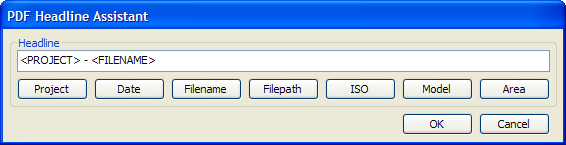
Drag & Drop:
DGN Input

On the ‘DGN Input’ tab, the plotting range for the DGN files and the HPGL plotter .plt-file for MicroStation can be selected. This HPGL plotter file is needed for printing the DGN files to HPGL files; afterwards, these HPGL files are converted into PDFs. These options are available:
Fit: All visible elements will be plotted and scale to the paper size
Autosearch: If the DGN file is a drawing and a reference file of slot 31 named BORDER exists, the largest rectangle in the border file will be fitted to the paper size, if not, behaviour is the same as describe at ‘Fit’. If the file is not a drawing, the largest rectangle in the master file will be fitted to the paper size.
Extract from shape in level n: Fits and prints the largest shape in level n.
Manual: Printing area has to be selected manually (in MicroStation Units of Resolution).
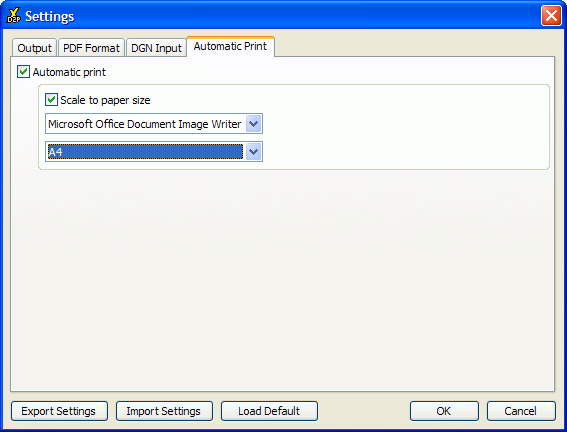
Automatic Print
When ‘Automatic Print’ is checked, dgn2pdf will send PDF files directly to a printer.
When ‘Scale to paper size’ is checked, dgn2pdf will scale the output to match the selected printer’s paper size.
Export Settings
The ‘Export Settings’ button lets you store all settings in an .ini-file.
Import Settings
‘Import Settings’ loads all settings from an .ini-file.
Help
The help menu contains two items:
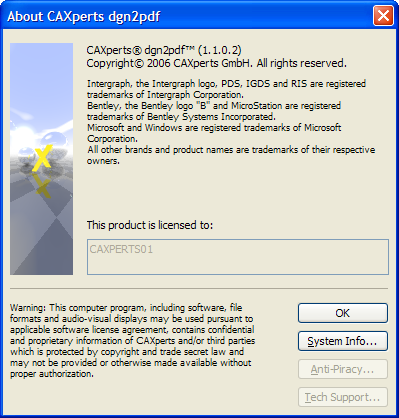
About
‘About’ shows the dgn2pdf about box.
Update Licence
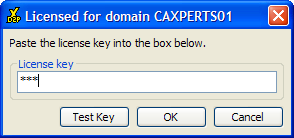
::: {.Definition} > ‘Update Licence’ shows as dialogue where you can key in and test your > licence key.