|
“Show initial screenshot” shows the view when the
Markup was created, without UI elements.
|

|
“Undo/Redo” undoes a single action, or redoes it if it
was undone.
|

|
“Draw free line” creates a freehand line following
mouse or finger movement in all directions.
|

|
“Draw straight line” creates a straight line in the
direction of mouse or finger move.
|

|
“Draw orthogonal line” creates an orthogonal line bound
to X and Y axis.
|

|
“Draw rectangle” - Size is defined by mouse or finger
movement.
|

|
“Draw oval” - Size is defined by mouse or finger
movement.
|

|
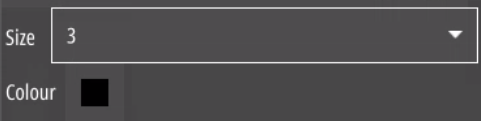
“Draw text” creates a text field at the position where
the mouse is clicked. Font size and color are defined by the pen
definition. If an existing text is picked, this text can be edited.
|

|
“Move” enables you to move the currently selected
element in any direction on the P&ID.
|

|
“Eraser” erases the positioned markups graphically. It
doesn’t delete entire objects, but rather the parts that the tool is
swiped over, similar to using a sponge.
|