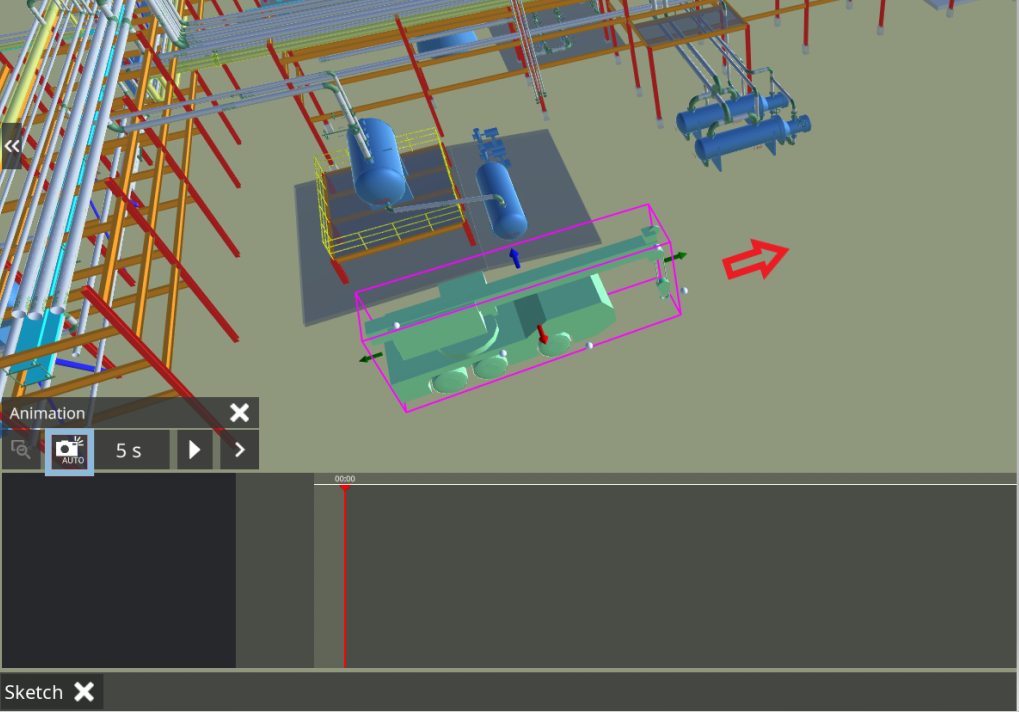
Animation
|
|
Animations are built from sketches. You’ll find the necessary buttons located in the “Files” tab. Once you’ve created a sketch, you can generate an animation while the sketch remains open, effectively linking the two together. |
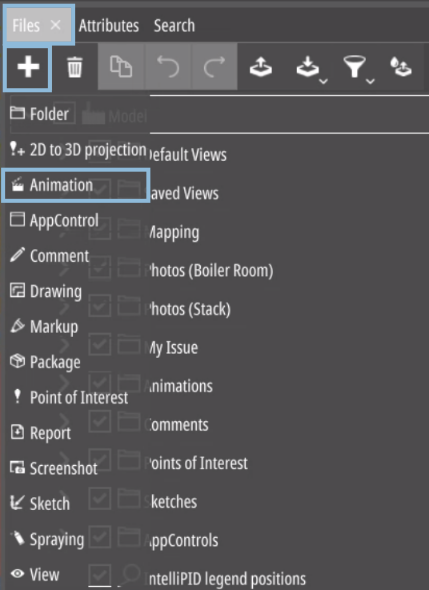
Keep in mind that multiple animations can be associated with a single sketch.
Animation Player

|
|
“Edit” opens the animation editor. |
|
|
“Go to first” jumps to the first keyframe. |
|
|
“Go to previous” jumps to the previous timestamp or the beginning of the animation. |
|
|
“Play/Pause” starts/stops the animation. |
|
|
“Go to next” jumps to the next timestamp or the end of the animation. |
|
|
“Go to last” jumps to the last keyframe. |
|
|
“Animation timeline/slider”: drag to move the animation to the specified points. |
|
|
“Timestamp” drop-down- menu: select a timestamp to jump to. |
|
|
Speed drop-down menu: select the playback speed. |
|
|
“Zoom in” zooms in on the timeline. |
|
|
“Zoom out” zooms out on the timeline. |
|
|
“Zoom to fit” fits so the whole timeline is visible. |
Animation Editor

|
|
“Player” goes back to animation player. |
|
|
“Magic keyframe” creates a keyframe of all currently placed objects which are selected in the animation editor hierarchy with their current settings. |
|
|
“Magic keyframe delay” Automatic delay which will be added between magic keyframes. The user can enter values like e.g. 2.5 s, 5 s, 10 s, 1 min etc. |
|
|
“Play/Pause” starts/stops the animation. |
|
|
“Expand/Collapse” brings up extended animation tools or closes them. |
|
|
“Add keyframe” adds a keyframe for the selected animation parameter. |
|
|
“Remove keyframe” removes the selected keyframe. |
|
|
“Remove parameter” removes the selected parameter row. |
|
|
“Transition curve view” shows the transition curves (lines and splines) between values. Drag them to change its form. |
|
|
“Zoom in” zooms in on the timeline, centring on the currently selected position marked by the red line. |
|
|
“Zoom out” zooms out on the timeline. |
|
|
“Add timestamp”: When you drag and drop this button onto the timeline, it creates a new timestamp. You’ll see a box pop up asking you to name the new timestamp. If you drag a timestamp, this icon turns into a trash bin icon. Dragging timestamps into it will delete them. |
|
|
“Zoom to fit” adjusts the view to display the entire timeline. |
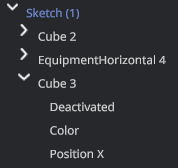
Timeline View
|
“Project tree” contains all items, parameters etc. involved in this animation. |
|
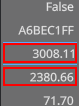
Displays all “Parameters” of the currently selected item in the project tree at the current timeline position. You can edit these parameters by clicking on their values. |
|
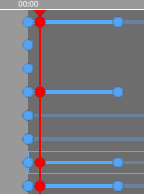
“Timeline” The red line is the time slider, showing the current animation position. Drag it to change. Blue dots are parameter keyframes from the adjacent item in the project tree; drag to adjust their positions.. |
Saving the Animation
(licence for sketching is needed)
In order to save any work on animations, a licence is needed. An exception are the animation data of 4D System which can be loaded and saved without a licence. Animations can be saved in .upvf files.
Creating an Animation Example
Create a “Sketch” and place any sketch-object (e.g. a Liebherr crane from the sketch catalogue).
Create an “Animation” in the same menu while the sketch is active.
Select the sketch object and create an animation keyframe by pressing the “Magic keyframe” button.
- Move the crane to the destinated position and press the “magic keyframe” button once more.

- The animation can now be played in “Player” or “Edit” mode.